Article Contents
- 1. Surface management as a skill
- 1.1. The basics
- 1.2. Surface management myths
- 2. Practice your technique
- 2.1. Single-level versus multi-level sanding
- 2.2. Improving your skills
- 3. Choosing the right surface
- 3.1. The relationship between surface and ball reaction
- 3.2. Desired ball reactions on different patterns
- 3.3. Desired ball reactions at different levels of transition
- 4. Conclusion
Note: This article is only available to Bowling This Month subscribers.
A few years ago, I wrote Bowling Ball Surface Management, where I covered some basic rules and techniques for adjusting ball surface. This time around, in keeping with my recent series of adjustment-focused articles, I wanted to dig a little deeper and review some general guidelines and real-world applications for knowing how and when to change ball surface to improve your ball reaction.
Surface management as a skill
Over the years, the term “matching up” has become synonymous with great performances. Unfortunately, it has also inherited a bit of a negative meaning when bowlers don’t do well and simply blame a lack of matchup. While there are certainly some inherently natural matchups that bowlers can’t control or even change, the art of matching up over time is absolutely a skill. Matching up includes all of the skills I’ve previously covered: ball speed, axis control, loft, and lane play. Another piece to the matching up puzzle is ball surface.
Having the right surface on your equipment is just as much a skill as accuracy or rev rate or ball speed. When viewed as such, it starts to make more sense that surface management is something you need to practice. Just like you’d spend time working on your armswing or lane play adjustments, so too should you practice your surface adjustments. With that in mind, let’s review a few key things you need to know.
The basics
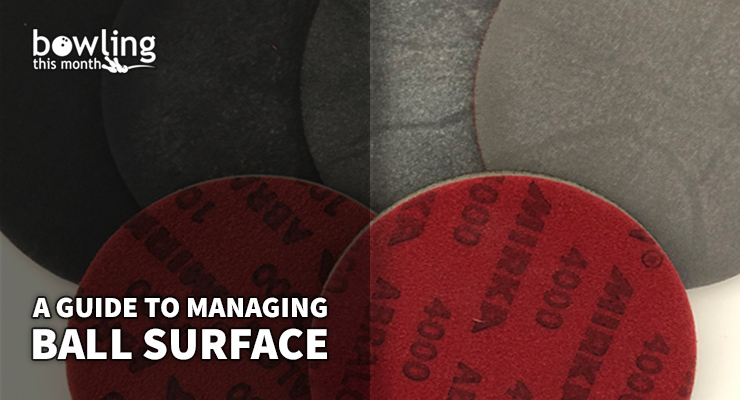
If you’re reading this, you’ve almost certainly seen the ball reviews on this website, or the information on ball company websites that give you the box finish of the ball you are looking at. They all look a bit different, but, to give one example, they generally look a little something like “500/2000/polish.” In this example, this essentially means that there are three layers of surface preparation:
- a sand with 500 grit Abralon or SiaAir (depending on the company),
- a sand with 2000 grit Abralon or SiaAir, and
- a polish coat with the company’s polishing compound.
On a sanded ball, you might only get information on the final sanding step (4000 Abralon, for example), or you might get all the steps (such as 360/500/2000 Abralon). Either way, these grits give you an idea of the surface roughness when the ball leaves the factory. Higher ...
Already a premium member? Click here to log in.


